Crochet Amigurumi Baby Finger Sloth Pattern – FREE
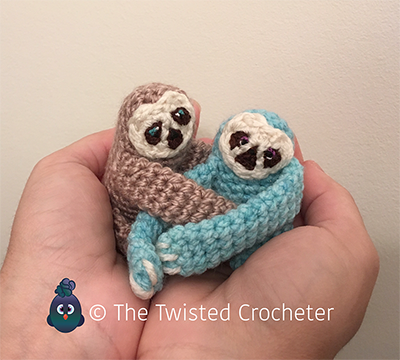
Introducing our adorable and cuddly little finger sloth! Perfect for kids and adults alike, this charming sloth is handmade from soft, high-quality yarn and stuffed with hypoallergenic filling for a snuggly feel. Measuring approximately 4 inches tall, this little sloth is the perfect size to take on the go, tuck into a backpack, or display on a shelf.
With its sweet expression, and gentle smile, this little sloth is sure to bring a smile to your face and provide hours of comforting companionship. Its small size makes it an ideal gift for kids, teens, or adults who love sloths, cute animals, or unique handmade toys.
Whether you’re looking for a gift for a special occasion or just a little something to brighten someone’s day, our cute little finger sloth toy is sure to please. So why wait? Create yours today and experience the joy of having this delightful little sloth in your life!
For step by step instructions on how to create this Baby Finger Sloth,
visit our Youtube Channel.
What you need….
- Worsted Weight Yarn (#4):
- Colour 1 for Body
- Colour 2 for face
- Embroidery thread (whatever colour you prefer) and needle for eyes and mouth, fine detail of eyes
- Crochet Hook Size 4mm
- Stuffing
- Tapestry Needle for sewing the pieces together
Crochet Pattern Abbreviations
ch = chain
chsp = chain space
st = stitchesc = single crochet
hdc = double crochet
dc = double crochet
tc = triple crochet
sl st = slip stitch
sts = stitches
inc = increase; two single crochet stitches in one chain
dec = decrease; create one stitch from two chains (pull yarn through first chain, then pull yarn through second chain, and then pull yarn through all three loops to create one chain from the previous rows two chains
** = repeat instructions enclosed within the asterisk the number of times indicated in the row being worked
Unless otherwise noted: Continue working in round from previous row
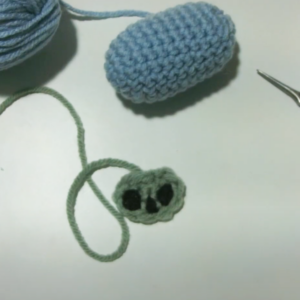
Face (Mask)
R1: 6 sc in Magic Ring (6 sts)
R2: sl in first chsp, 2 dc in next chsp, 2 hdc in next chsp, sc in next chsp, 2 hdc in next chsp, 2 dc in next chsp , sl to join (11 sts)

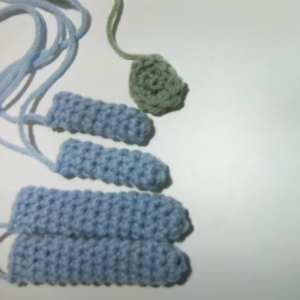
Leg (x2)
R1: 6 sc in Magic Ring (6 sts)
R2-R8: sc in each chsp in round (6 sts)
Do not stuff
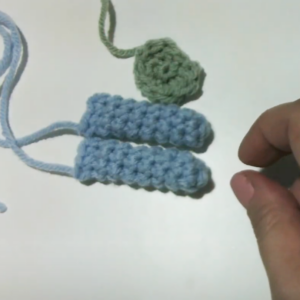
Arm (x2)
R1: 6 sc in Magic Ring (6 sts)
R2: 2 sc in first chsp, sc in next 2 chsp, 2 sc in next chsp, sc in next 2 chsp (8 sts)
R3-R14: sc in each chsp in round (8 sts)
Do not stuff
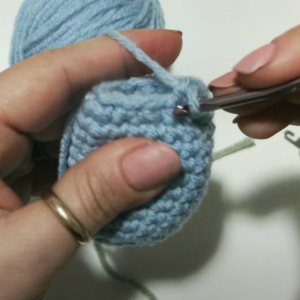
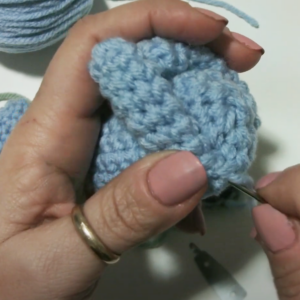
Body
R1: 6 sc in Magic Ring (6 sts)
R2: * 2 sc in each chsp * repeat 6 times (12 sts)
R3: * sc in next chsp, 2 chsp in next chsp * repeat 6 times (18 sts)
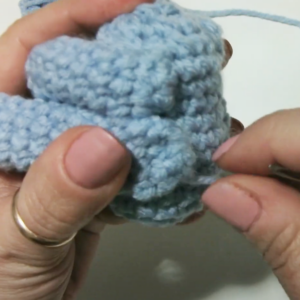
R4-14: * sc in each chsp * repeat 18 times ( 18 sts)
R15: *dec in next chsp, sc in next chsp * repeat 6 times (12 stitches)
Stuff body
R16: *dec in next chsp * repeat 6 times (6 stitches)
Close off
Eyes and Mouth
This section can be customized as much or as little as you prefer. You can simply just add the outline to the eyes and mouth area, or you can also add eye colour and reflection detail.
Choose your preferred colour for the outline of the eyes and mouth area. Stitch your preferred eyeshape and mouth shape and fill in with this thread.
If you are not comfortable working with thread, you can skip the fine detail of the eye, and move onto compiling the sloth.
Fine detail of Eye
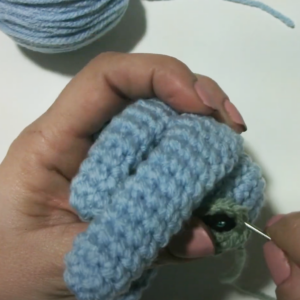
Using black thread, add a pupil to the eyes of your sloth.
I simply stitch in a few very close stitches so that it appears to be a small circle. Add a few stitches where nose will be.
To add further detail to your eyes, choose a different colour thread and add
one or two stitches around the pupil, see the photo below for placement ideas.
To finish off the eyes, we will add the appearance of eye reflection. We can achieve this by simply adding a stitch of white thread to the eye. Place the white stitch wherever you prefer near the pupil of the eye. See photo for example of different placements.
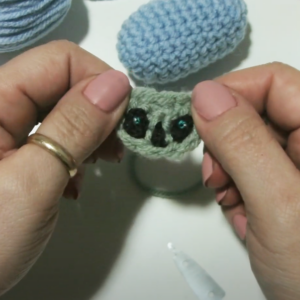
Compiling the sloth
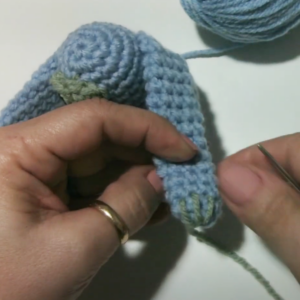
Choose your preferred placement position and stitch on the face to the body.
Inventory tracking will not work because your site has javascript errors. Possible solutions
Flatten the arms and legs and stitch the long arms near the top of the body
and the short legs near the bottom of the body as per photo examples.
Inventory tracking will not work because your site has javascript errors. Possible solutions
Flatten the arms and legs and stitch the long arms near the top of the body
and the short legs near the bottom of the body as per photo examples
To finish off, create three long stitches on the hands and feet to appear to be claws as per photo.
That’s it!
You’ve created your baby sloth.
Your baby sloth is now ready to share with the world.

Related Posts
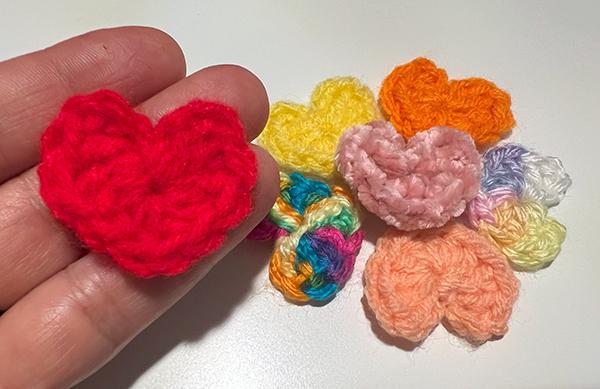
Simple and Easy Crochet Heart – Free Pattern
-
Posted by
The Twisted Crocheter
This easy crochet pattern guides you through creating a charming and delightful heart using basic stitches. Whether you’re a beginner or an experienced crocheter looking for a quick and satisfying project, this simple heart pattern is perfect for you.
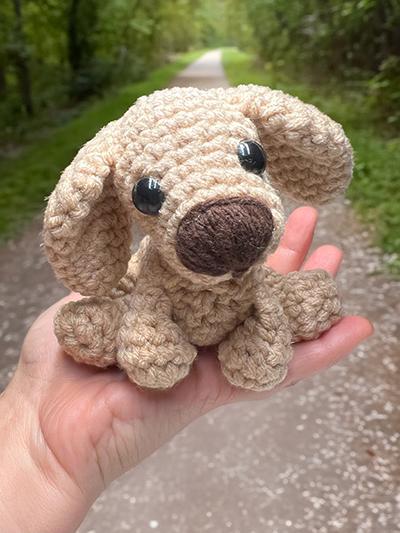
Golden Retriever : Sunshine – Free Crochet Pattern
-
Posted by
Meet Sunshine, the adorable crochet Golden Retriever amigurumi! This charming little creation is crafted with golden or yellow worsted weight yarn, capturing the warmth and friendliness of a real-life Golden Retriever.
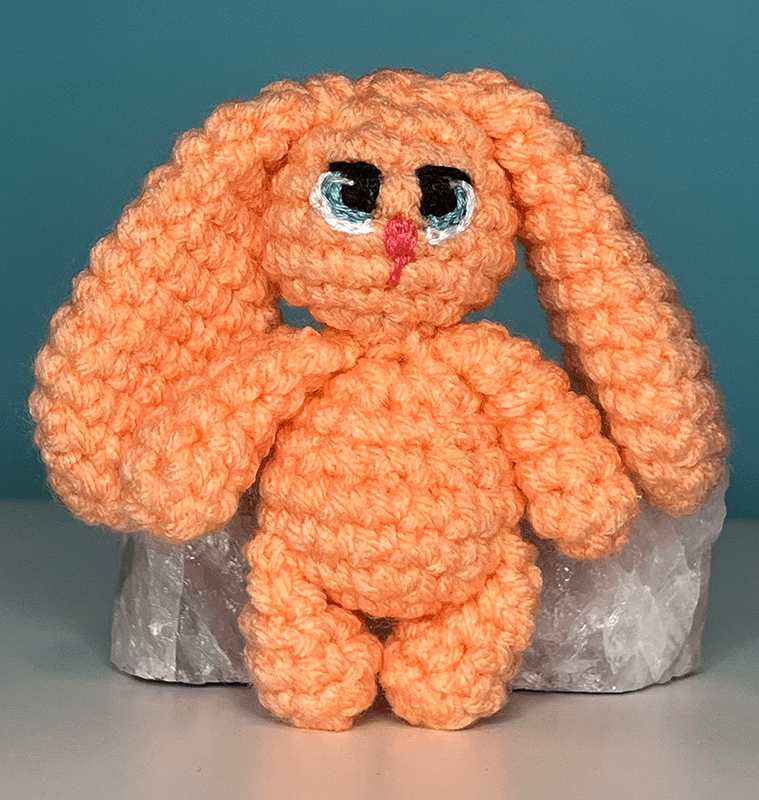
Bitsy Bunny – Free Online Crochet Pattern
-
Posted by
Bitsy Bunny is a cute and cuddly crochet toy that is perfect for children and adults alike. Made with soft and fluffy yarn, this tiny bunny fits snugly in the palm of your hand, making it an ideal companion for on-the-go adventures. With its big floppy ears and adorable button nose, Bitsy Bunny is sure to melt hearts and bring a smile to anyone’s face. This little toy is expertly crafted with intricate details that make it a unique and special addition to any collection. Whether you’re looking for a charming gift or simply want a sweet and snuggly companion, Bitsy Bunny is the perfect choice.
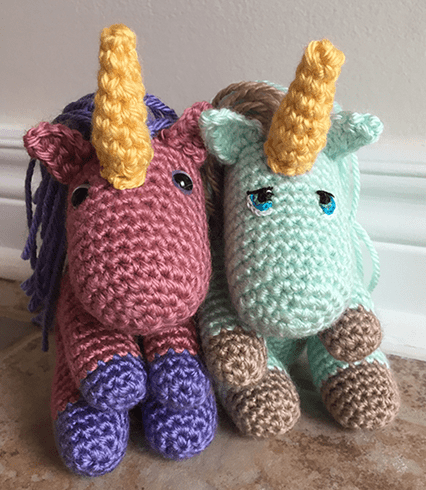
Enchanting Unicorns – Free Online Crochet Pattern
-
Posted by
Bring some magic to your crocheting with this enchanting unicorn pattern! Perfect for unicorn lovers of all ages, this pattern will guide you through the creation of a whimsical unicorn complete with a flowing mane and tail, delicate hooves, and a shimmering horn.